Showing posts with label paint. Show all posts

11.04.2013

Creating Interest in a Not-So-Interesting Place.

What to do with Hallways and Landings?--Feather Your Nest Transformation

I always say, "Paint is your friend". And, really it is.  If you don't like that end-table anymore, paint it. If you are tried of that terricotta pot, paint it. How do you update or lighten-up a space? Yes, you got it--Paint it!

Meet the drab:

This picture is looking up the staircase, duh, from the first floor to the the second floor landing.  There was a broken stair tread so that had to be replaced.

This is the original plaster wall on the staircase....where the "other" home-owner covered up the need for repair work with wallpaper--then painted over said paper...so this was a lot of fun to remove and see what was underneath....nothing a little plaster-paris couldn't fix.

This brown paint started at the stairway landing and turned the corner all the way to the 2nd floor landing.  It was a cool color but made it all look so dark and gloomy.

Another look at the 2nd Fl landing. This landing truly is the gateway to all of the rooms on the 2nd floor...three bedrooms, and office you see here with blue walls and a bathroom that you can see here in major need of work.  Notice, this is also the first sanding of the hard-wood floor.

Again 2nd floor landing...with tiny, non-descript light fixture.

From the 2nd fl landing down the steps to the first floor.....this is a shot of the wall-paper that is hiding repair work needed underneath. Doesn't look so bad, except the floor....but the paper is quite hideous.

From the stairway looking up to the landing and into the nasty blue bed-room beyond.

Now, the FAB

Funny how creating an interesting wall of paint and some "punch you in the face with color" curtains, instantly changes this space.......well, minus the step-repair seen here that still needed stained.....

This is looking from the 2nd Fl landing down the steps. The stripes were carried from the left side of the wall at the foot of the steps, up the stairway, around the small landing and up the wall to the 2nd Floor landing.

Here is a look at the 2nd floor landing...so much brighter and lighter. The wall is painted medium grey from the same paint as in the stripes. The light fixture is from Shades of Light in Richmond, VA...A big whopping $99.00 for such a statement.  The rug is from Target and holds all the colors of the pallet from everyone that extends from this landing....notice the orange and blue room there in the distance.

A look at the stairway from the 2nd floor landing......

A close up of that crazy light again.

How do you do it?

Here is the "before" picture again.......Any surface you need painted, needs repaired and primed. 
Choose a color idea and get paint cards with 3-6 colors on them. Choose 3 or all if you want that much contrast. Paint the wall the lightest of the colors.  Then measure off and tape areas. I chose 18 inches for the stripe width.  I painted the next color and so on.  It is a bit time consuming....But, I did this stairway from beginning to end in a weekend.

AFTER:

Just find a color you like and choose three shades from the same card.  I skipped a color in between to give some contrast.  So, really with some time, elbow grease and $70.00 in paint.........a transformation.

Show us a project with paint or comment below to share your ideas.  

ENJOY


8.26.2013

First Impressions--start at the entrance

Curb Appeal--Feather Your Nest Transformation--

Its as important as what is inside. You know the old saying "Don't judge a book by its cover". Well. that is exactly what people do-----on your home.

Whether you are sprucing up your own abode for yourself or trying to get your home ready to place on the market; the front entrance definitely needs some attention.  If it is un-inviting and/or drab, it sets the tone for what is to come. People tend to create first impressions in the first 10 seconds they meet you (or your home). Do yourself a favor and make those first few moments of meet & greet the best they can be.

Meet the old:


You can't get to much more boring than this. Don't you just love the wood covering the third story window?  Makes a statement right?

Now the unveil:


I sware these are completely un-touched photos.  So, how did we go from Drab to Fab?

Start with the Obvious:  The Front Door

The storm door was replaced about 4 years ago, and was in great shape.  What we needed to do was make the front look more inviting and give a hint as to what would be found on the inside.  The actual door is original to the home--and a strange 105 inches tall...so it would be a shame to try to replace it.  I say keep all elements that are salvageable intact for the integrity of the home's story.  This door is circa 1924, complete with brass door knob, plate and trim (that you can't see very well).  All it needed was a good sanding with a mouse sander using fine grit and primer and paint.  We chose this cool gold/yellow tone to complement the red-brick.


My all-time favorite color to accent dark/cherry cabinets, furniture or even this brick is Kilz brand Nacho-Chip.  It is great. This sample may look more brown, but in reality it is a warm golden yellow. You can find Kilz brand paint at Wal-Mart.

Next:  A bath

Take all the shutters off and power wash the brick--the entire house.  I am lucky because Mr. Perfect is very good at this.  But, if you have never used a power-washer before, you may want to hire this out.  1) Because if you use the wrong power, you can push the morter out between the bricks=BAD.  2) A professional can do it in a day.....time=money.


Don't forget to power-wash the shutters too.  Here is Mr. Perfect in action. (Yes, his nick-name from his teenage years was actually this)

Nice and clean and ready for painting.

Paint

We chose a great dark muted grey/blue color for the shutters.  The gal at Lowes suggested flat sheen for shutters--if I could do it over, I would choose a semi-gloss for sure, especially against the brick.  But it turned out fine.  We also painted all the window trim in a warm white.  Paint always makes things look newer and cleaner.  If someone saw chipped paint around a window, just because you didn't have time to take care of it; well, it may hint that you don't take care of other parts of your home.  Make sure you get severe weather paint and that it is mildew resistant.

Landscaping & Plants

If possible, add in some landscaping around your house.  It doesn't have to be crazy, just some easy-to care for plants and shrubs.  Anyone at a green-house or Lowes can help you pick what is best for your climate.  
Here we are getting ready for the landscaping. This isn't hard, just time-consuming and elbow grease. After you did up the area you want to plant, add in some Hummus.  Here is a great site that will help you get started if you are new to gardening: http://www.flower-gardening-made-easy.com/beginner-gardening.html
It is always good to have some sort of plan.  I created a crude drawing of my idea of what I would like for my flower garden to look like.  Using the color scheme that we created for the house, I chose plants on size, color and care.  Then, set them out where I thought they would look best.  It is easy to make changes etc....before the plants are in-the ground.  You definitely need some height in the back and a mixture of shrubs and colored flowers.  It is good to plant things in groups of three to five for depth.


The finished result


Create an Outdoor Room

This picture was taken in the "during" phase as you can see.  We re-painted the porch black and used this side of the porch to create a room-like space. Again, using the color scheme for the interior of the home.

Here we started with an outdoor rug to ground the space. And, added in seating, a table and some greenery.  The cushions came from Marshalls and the setee and chair are from Pier One. The accessories are from Target and Hobby Lobby.


The rug is from Target, Planter from Marshalls and the Lantern is from Hobby Lobby.

The End Result


A definite Transformation without alot of money.  Mostly, cleaning, paint and Tim.....and little hard work :) Nothing worth having comes easy! Right?

 All of this porch furniture and accessories are available through our Feather Your Nest Staging Service.  If you would like to learn more about Home Staging click HERE 

And this House is actually on the market currently.  If you would like to learn about this property or see more pictures: Check it out HERE

 If you all have some curb appeal to share with us, drop us a line and show us today.  What are you waiting for.

Enjoy


5.11.2013

Feather Your Nest--Seventh Street Transformation/Week 3

Update with Paint

I am not doing all that great blogging and want to apologize to our readers.......definitely working full-time, being a wife, mother and also running an on-line boutique--A Southern Co with its services such as: Feather Your Nest....well it IS a lot of work.  A labor or love.  Work.  But, most definitely fun.  We all are busy and need to fill our "down" time (what you carve-out or schedule for yourself) with things that make us happy, add comfort and remind us of what is really important. 

Time is important to me. Time is also money in a way. So, how do we spruce up our roost to make us happy and comfortable so we can spend more time with our family instead of laboring over an intensive project.... One work answer, Paint.  

This is my one easy go-to decorating step.  Don't throw it out.  Paint it. You can paint almost anything to update, upgrade, re-purpose and re-hab your style.

We used this technique with a great 1950's buffet that I found at the flea market for $65.00 pictured below:


How do you find a good piece to breath new life into it?  Look for clean lines, interesting detail and make sure it is in good working order and in decent condition.  I don't mind a few dings and scratches...it gives a piece some character--and makes is more appealing.  These items have already had one life and must have stories to tell.  I try to teach my daughter this....everyone has a story and not to judge someone by their appearance or "cover".

Flea markets are a great place to find hidden treasures.  I found the buffet tucked away in this booth.  You just have to hunt and be open to possibilities.  Of course, if you are looking for something particular...you most likely will not find it.  Choose things that you are drawn to and I promise you will find a place. 

Here our "Guy" is wrapping the buffet with plastic to protect the wood and to keep the doors and drawers shut.  It is good to always bring  a tape measure, have measurements of certain "ideal" spaces for a needed piece such as a foyer or entry, under a window or beside a fireplace.  Personally, I am bad about this and often underestimate the size of things and where I think they will go....I did do just that with this piece, but more about that later. 
The sweetest man on earth helped load this heavy thing into the truck without complaint and in the mud.  My Husband helped.  Just kidding.  My Husband, The One, is the sweetest man and he helps with anything I ask.  I am very lucky.

Definitely too long for the bed of the truck with the tool box in there. We had to lay it on its side and tie it down.  We typically carry pillows and old blankets with us when we go on a flea-market run.  You never know what you may find.  We also always have tie-down straps in our tool box.

A Diversion

So, on our way home, we made a "pit-stop" at our local Chevrolet Dealer:  Dutch Miller Chevrolet It was a beautiful day at the end of February and we had already researched the idea of possibly buying a new Truck.  February is "truck" month with Chevrolet and with the $7500.00 tax credit, cash incentives and our older white Silverado (paid for) to trade...it was almost a no-brainer.  We had a great salesman, John who was a non-bull-sh@# person to deal with....so we bought a new truck.  On a Sunday even.

So how great is that?  Too go out for breakfast on a Sunday morning, hop on over to the flea market and find a great buffet piece to re-do, drive by the Chevy dealer to "look" once more and come home with a new truck.  I am sure we looked like the Beverly Hillbilly's cruisin' in to the dealership with an antique buffet in the back wrapped in plastic....No problem....the salesman had a few handy guy to just move the cargo over.  We LOVE our new truck.

Here is a recent pic of the "other" treasure we found while flea-marketing.  Think about all the great find we can lug home in this thing.  My husband thinks it is for him....but really it is for me and I just let him think it is for him....haha

Back to our buffet 

sorry for the digression......but that is exactly how our day went.

Back to our object of affection.  So, on a warm Spring day about a month after we bought the buffet, we hauled it outside on the sidewalk and gathered the needed materials:  
1) Item needed painted
2) Fine grit sanding sponge
3) Wash Cloth or cleaning cloth (damp)
4) Phillips Head Screwdriver
5) Mixed paint color desired:  1 quart (could possibly use 2 sample sizes)
6) Paint pan x2
7) Paint roller x2
8) 2 inch Paint brush x2
9) Primer
10) New knobs 

Up close view.  Knobs were in great shape....but not very fun.  You could use them as is, paint them or change them out.  I opted to change them and then donate the original to the Re-Store

Step 1) Remove all drawers and knobs

Step 2) Sand all surfaces with the fine-grit sanding sponge 
(can buy at Lowes for a few dollars for a 2/pk)

Oops left on a knob
Step 3) Wipe down all surfaces with a damp cloth to take away all dust

Step 4) Prime all surfaces, including drawer front and interior if you want to paint that as well

Step 5) Paint with chosen color.  
I chose a cherry orange color from Behr Ultra (Made by Home Depot) About $8.00
I like this paint because it has a built in primer...and although I still prime, it insures a smooth one-coat coverage no-matter the color and it is think and easy to work with.  It also dries really fast. 

Keep in mind when you paint, you need to be in a well ventilated area or outside.  You also need to be above 50 degrees if at all possible and it is best to not have a lot of humidity in the air.  It takes longer to dry with a lot of humidity.

First roll your paint onto the larger areas and use your brush to do the legs and to paint the small places like the front of the buffet where the drawers go.  Let dry

Step 6) Install your new knobs.  
I picked mine out from Hobby Lobby.  It is good to take an old one with you so you know what size to get.  Don't let the price tag fool you.  They have sales all the time and I think the knobs are always 50% off.  So $15 for knobs

Hocus Pocus The Unveiling:

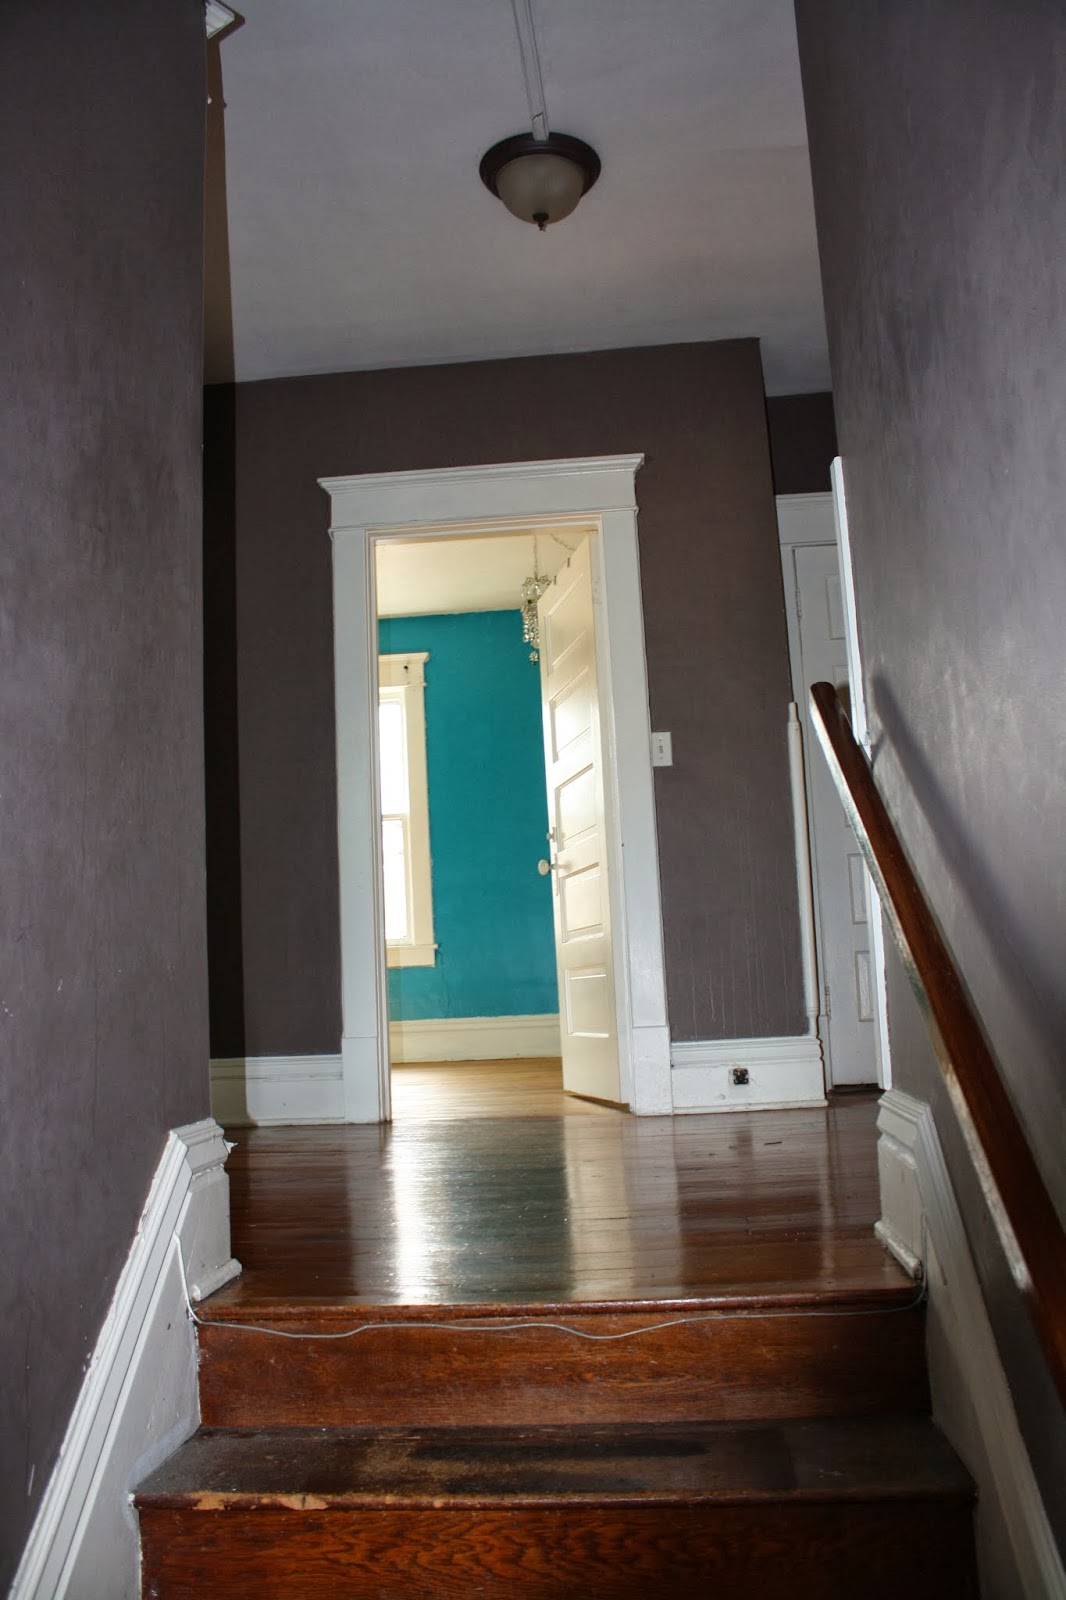
How cute, right? This was easy peasy in as little as 6 steps and for under $25.00.  $90.00 in total for the everything, not bad for a great piece of furniture. Now, the hard part--where to put it.  Originally I purchased this to go in the dining room under a higher than normal window to serve its natural purpose:  A buffet.  But, it was too wide.....Oh bother.  So, it was moved upstairs to the office.  Notice the lovely vintage yellow paint and new re-finished floors.  

I played around with accessories before settling on anything.  
Add a little shine:  the lamp with burlap shade
Throw in some texture: The owl or even mirror with distressed frame
Something of interest: The wooden E

Try these on for size.....love the textured structured tote:  bicycle is part of our Logo. Black always adds interest:  knobs and buffet are enough color...don't want to blind anyone here.

You Be The Judge:

Help me decide on what accessories to use:  Comment on this post for your favorite version:  Or give me some ideas you may have.

#1) the Bicycle

#2) the &

#3) the Owl

Let us know which you prefer. As you can see it is easy, not very time consuming and very cost efficient to make-over a flea-market find with paint. Yard sales, estate sales, goodwill and second-hand furniture stores are great places to search for a treasure.

We hope you enjoyed this post.  Check back weekly as we are transforming this traditional two-story brick house into a colorful and modern show-case home.  If you are interested in seeing the grand-reveal in person, drop us your email so we can send you an invite....Hopefully only a few more weeks.

Do you have a special find that you spruced up with paint?  Share it with us:  Inquiring minds want to know.

ENJOY!